Believe it or not, that’s not such an unusual question. A lot of builders aren’t sure about how to install a radiant barrier or—for that matter—how a radiant barrier works.
Although radiant barriers have been around for a couple of decades now, some builders have yet to discover the remarkable advantages that they offer.
So let’s look into radiant barriers, how they work, what they do, and how to install them.
What is a radiant barrier?
A radiant barrier is a building material that reflects thermal radiation from the sun and reduces heat transfer into the attic and therefore into the house. Radiant barriers reflect thermal radiation thanks to a low emittance surface, typically a thin, mirror-like layer of aluminum foil on one side.
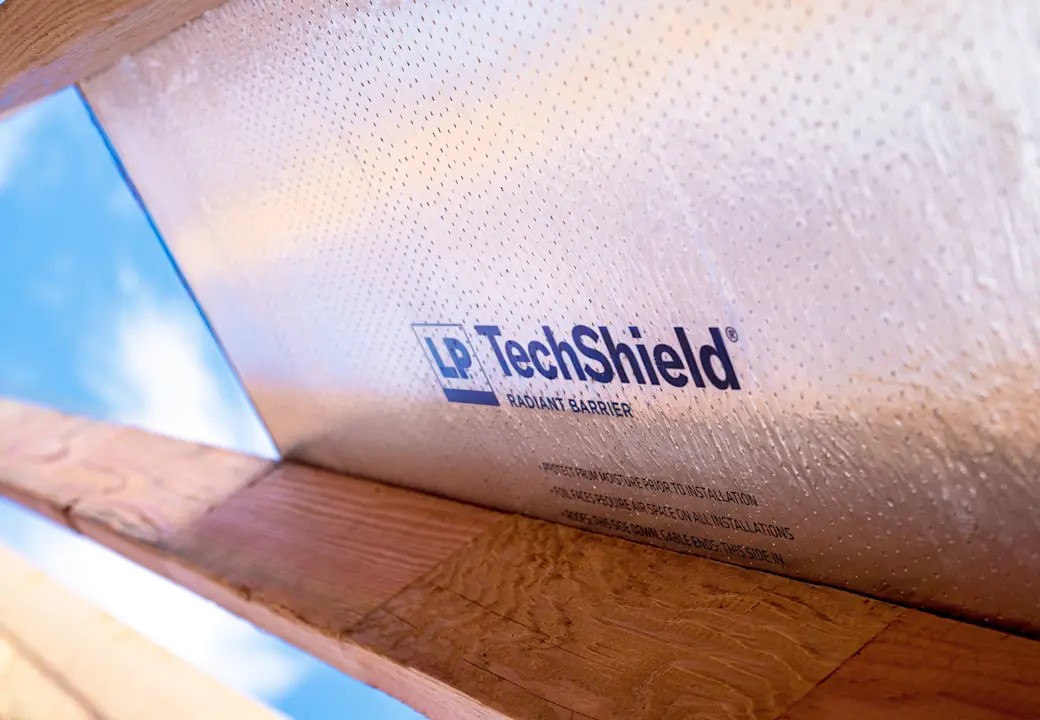
As the original #1 brand of radiant barrier sheathing, LP® TechShield® panels have been installed in more than two million homes. It’s the perfect example of a high performance radiant barrier.
With an aluminum-based layer laminated to an LP OSB panel, LP TechShield sheathing blocks up to 97% of radiant heat transfer through roof sheathing, which can lower attic temperatures by up to 30° F.
Keeping a home’s attic cooler with a radiant barrier helps keep the home itself cooler—and that can translate to lower energy bills.
Can Shingles Be Installed Over a Radiant Barrier?
The simple answer is yes. The beauty of radiant barrier roof sheathing is that you install the underlayment and shingles right over it, just like you would for typical roof sheathing.
The radiant barrier sheathing is installed exactly like conventional OSB or plywood roof sheathing, requiring no additional labor or installation time, but with an energy-efficiency secret.
The secret? The radiant barrier sheathing has the ability to reduce attic heat and help reduce energy costs in the homes you build.
Still skeptical? Find out if radiant barriers really work.
What about moisture buildup?
Unwanted moisture is every builder’s worst nightmare. Fortunately, this is where LP TechShield Radiant Barrier Sheathing lends a hand.
That’s because LP TechShield sheathing features LP® VaporVents™ technology that helps prevent moisture buildup during and after construction. A post-lamination foil incising process allows LP TechShield panels to dry quickly when moisture occurs during construction. It also allows for continued moisture evaporation after installation.
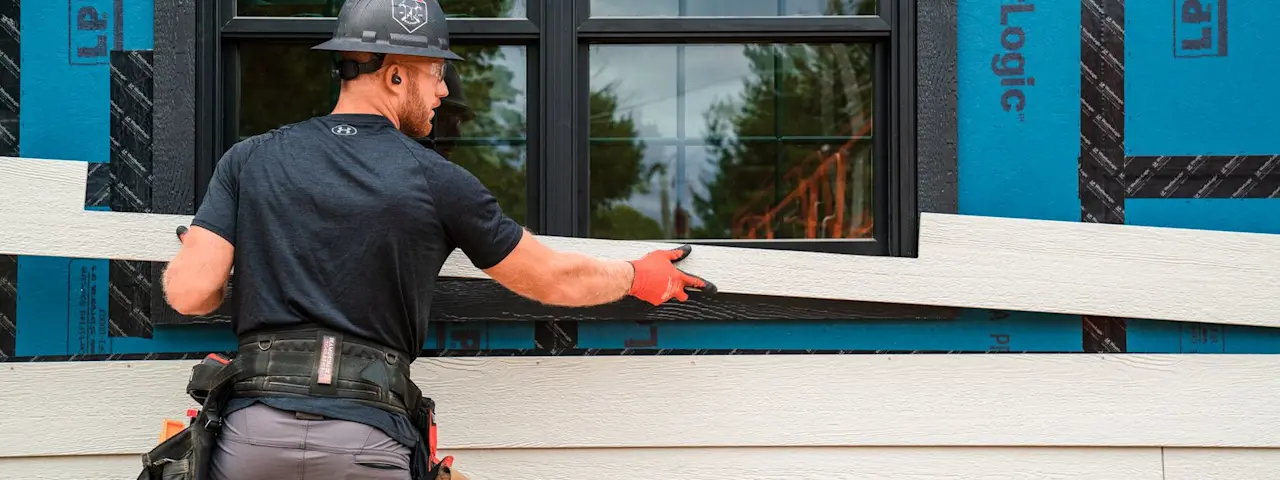
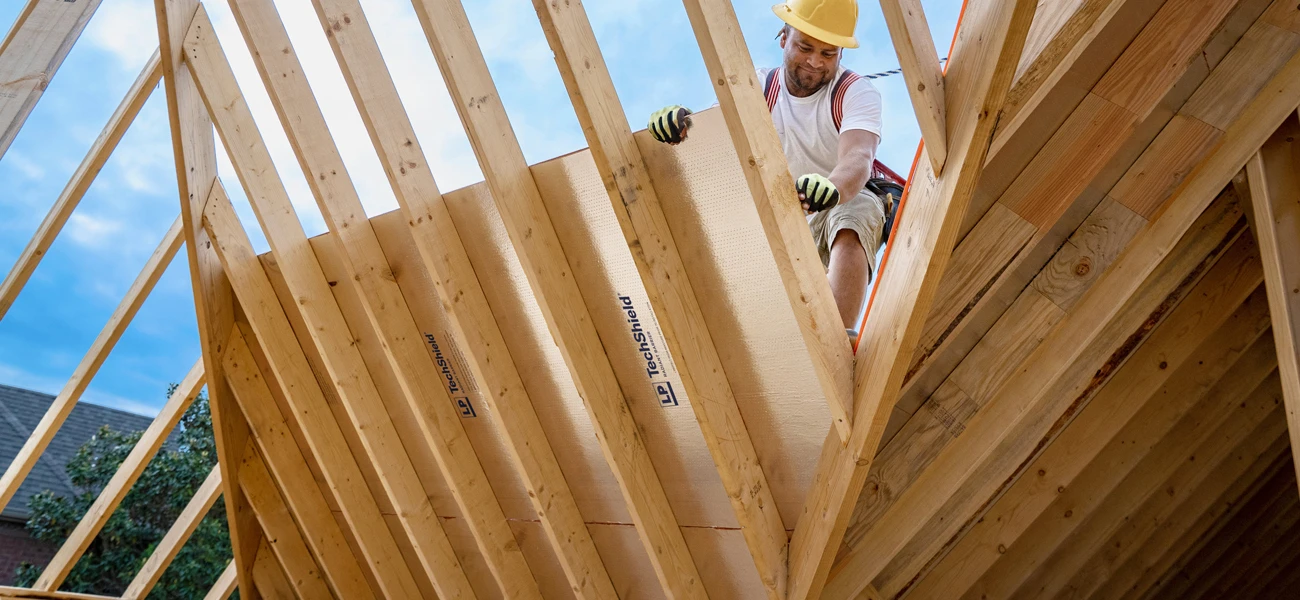
How to install radiant barrier sheathing
A radiant barrier—like LP TechShield Radiant Barrier—is installed just like regular roof sheathing, so there are no additional labor costs.
Installation is simple. (Check out this brief installation video.)
The single most important thing to remember is this: the foil or radiant barrier side of the sheathing should always be placed down against the roof supports, not up. The foil side will be visible when you’re inside the attic looking up at the underside of the roof.
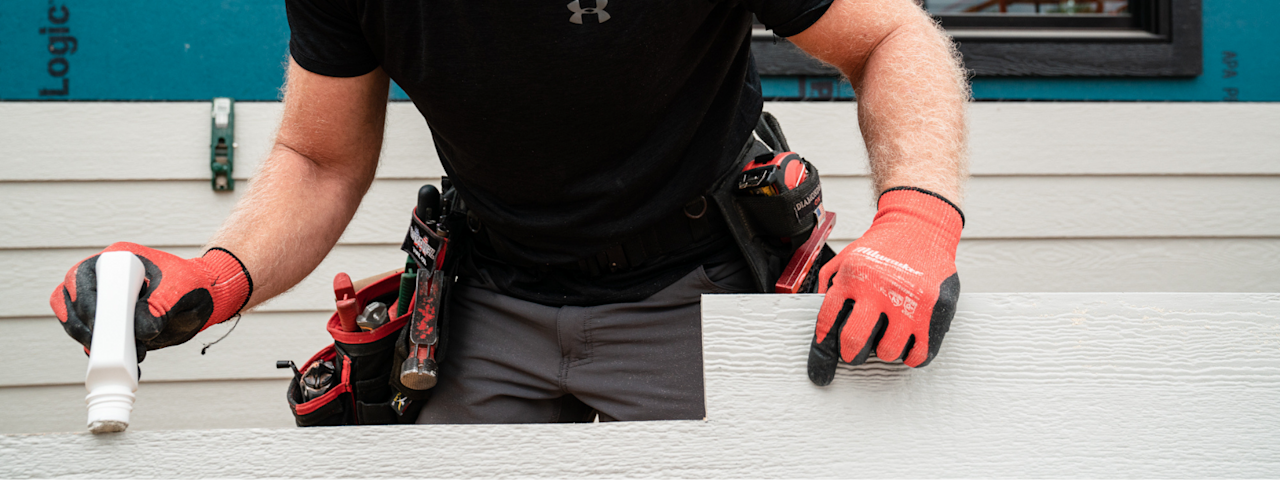
A few other installation tips to remember:
Install with the long dimension or strength axis of the panel across supports and with the panel continuous over two or more spans.
Provide 1/8˝ minimum space at panel ends and edges. Use a spacer tool (like a 10d box nail) to assure accurate and consistent spacing.
Panel end-joints shall occur over framing. Stagger end joints in each succeeding row.
Provide additional panel stiffness by installing panel edge clips midspan on all unsupported edges.
Maintain a minimum 3/4" air gap under the radiant barrier surface. Insulating directly to the underside is NOT recommended and will negate the radiant barrier properties of the panel.
What’s the original #1 brand of radiant barrier?
If you’re considering a radiant barrier, go with excellence.
LP TechShield Radiant Barrier Sheathing is the original #1 brand of radiant barrier sheathing. You can’t go wrong with it.
There’s one more reason to trust the homes you build to this proven performer. It’s backed by a 20-Year Transferable Limited Warranty, so you and your homeowners get two decades of peace-of-mind protection.
Learn more about talking to homeowners about radiant barriers.